
ARMY TM 5-6675-308-12
MARINE CORPS TM 08837A-12/1A
f.
Remove two forward T-handles securing clamping
b. Position vehicle so PADS is within 5 feet of the heli-
brackets to vehicle's subfloor or mounting base and
copter starboard cargo door. Secure the starboard
store on PADS primary pallet.
cargo door in the fully open position.
g. Slide primary pallet forward several inches to disen-
c. If necessary, clear canvas from vehicle and remove
gage alignment pins. Remove two rear T-handles
radio, spare tire, and gas can. Remove theodolite,
securing alignment pin bracket and store the
tripods and other gear from vehicle and set aside.
T-handles on PADS primary pallet.
d. Without disconnecting cable assembly, W1, unsnap
h. Set PS BATTERY circuit breaker, CB1, to OFF.
CDU from instrument panel bracket and secure to
BATT indicator will light. Disconnect battery cable
computer bracket. Wrap cable around CDU to keep it
W6 from power supply connector 3J2.
out of the way.
i.
Using three persons, remove the primary pallet from
e. If transfer cable, W8, is not connected, proceed as
the vehicle and transfer to the helicopter. The porro
follows:
prism must face out the door.
(1)
Set PS VEHICLE circuit breaker, CB2 to OFF.
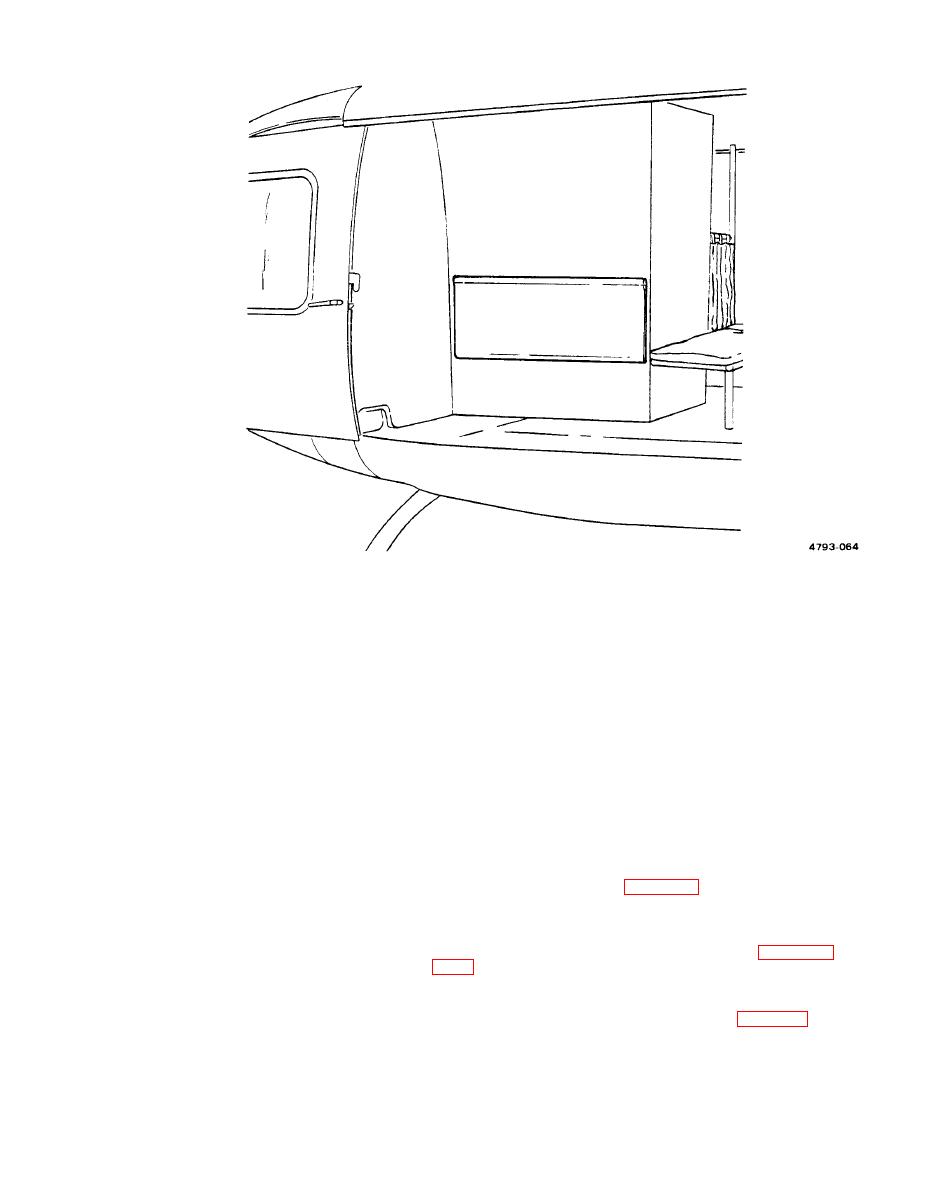
Adjust pallet until PADS is positioned approximately
j.
BATT indicator will light. (CHRG indicator may
as shown in figure 3-14, so that forward alinement
light.)
pin hole in PADS lower frame plate is alined with ar-
mament mount bracket below helicopter door open-
(2)
Connect transfer cable W8, located in top of
ing, and plumb bob can hang down between helicop-
battery box, between power supply connector 3J4
ter fuselage and landing skid. (See figure 3-15.)
and power cable W7 connector W7P1. (See figure
3-7.)
k. Open primary pallet top panel marked "NO SEAT"
and, using two belt assemblies, tie down primary
pallet to floor rings as shown in figures 3-14 and 3-16.
Set PS VEHICLE circuit breaker, CB2, to ON.
(3)
BATT indicator will go out. (CHRG indicator
l.
Tighten belt assemblies using ratchet handles.
may light.)

 Previous Page
